
 EN
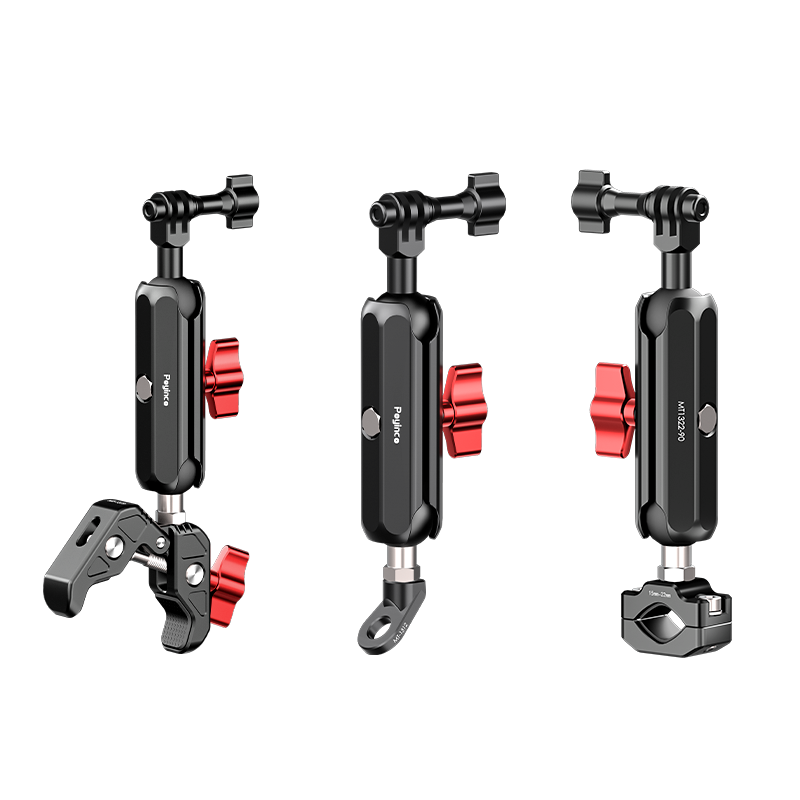
Mounting a camera on a motorcycle presents unique engineering challenges, and vibration is the primary enemy of smooth, professional-quality footage. A motorcycle camera mount must absorb engine vibrations, road shock, and wind-induced oscillations while keeping your camera stable and secure. Riders pursuing action recording deserve footage that showcases their experience without the distracting blur and jitter that ruins otherwise perfect moments.
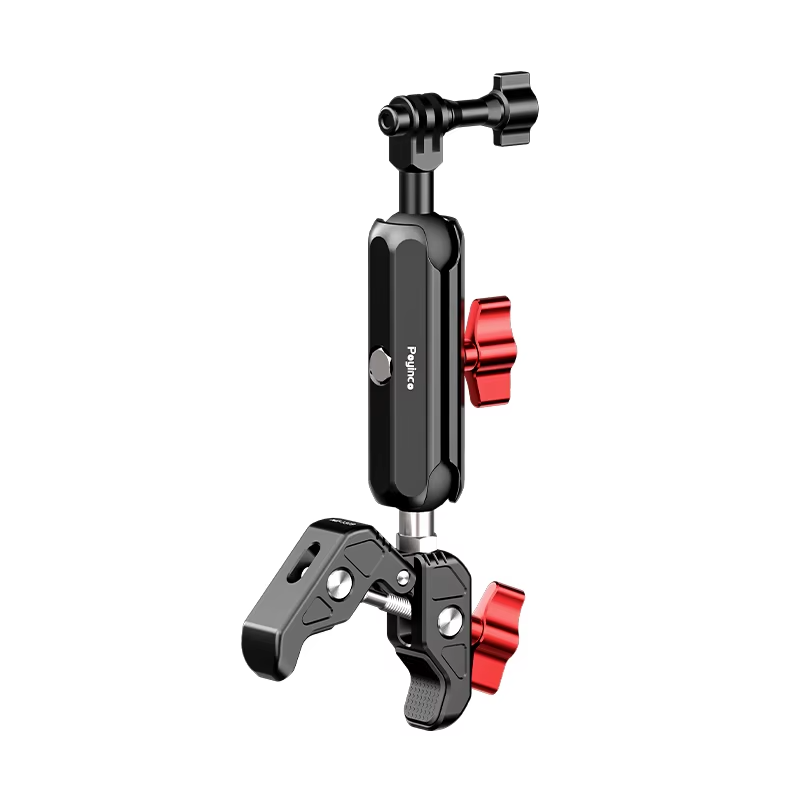
Understanding vibration sources and implementing proven dampening strategies will transform your action recording results. Engine vibrations typically range from 50 to 150 Hz depending on RPM, while road surface irregularities introduce lower-frequency disturbances below 20 Hz. Strategic hardware selection, material choice, and installation technique collectively determine whether your footage remains sharp or becomes unwatchable. This guide explores practical solutions that work within the weight and space constraints of motorcycle mounting systems.
Vibration Sources and Impact on Action Recording
Engine and Road Vibration Transmission
Your motorcycle engine generates complex vibrations that transmit through the frame, handlebars, and any mounting clamp attached to these structures. Inline engines vibrate differently than V-twins or parallel-twins, and each configuration poses distinct dampening challenges. Road surface texture, tire pressure, and suspension setup further compound these inputs. When a mounting clamp rigidly connects camera hardware directly to metal frame points, these vibrations travel unattenuated through the fasteners into your lens, causing motion blur and temporal distortion in action recording.
Resonance and Frequency Amplification
Rigid mounting systems create resonance frequencies where certain vibration bands amplify rather than dampen. A custom mount that feels solid at low speeds may experience severe oscillation at highway RPMs where engine harmonics align with the natural frequency of the mounting structure. This resonance effect is particularly harmful for action recording because it concentrates vibration energy at specific frequencies rather than distributing it. Improper fastener tension, loose mounting clamps, and insufficient mass between the vibration source and camera directly cause this problem.
Materials and Fasteners for Vibration Reduction
Elastomer Damping Materials
Elastomer layers strategically placed between the motorcycle frame and your custom mount absorb vibration energy through internal friction and material deformation. Neoprene, silicone, and polyurethane compounds offer different damping characteristics suited to specific frequency ranges. Natural rubber provides excellent general-purpose vibration isolation across the typical range encountered during action recording, while engineered silicone compounds offer superior temperature stability during extended riding sessions. A custom mount incorporating elastomer pads converts mechanical vibration into harmless heat, protecting your camera hardware and footage quality equally.
Fasteners and Mounting Clamp Selection
The quality of fasteners directly influences vibration transmission through your mounting assembly. Stainless steel fasteners with nylon or elastomer inserts reduce metallic resonance better than plain bolts, as the insert material dampens high-frequency vibrations. Proper fastener tension is critical: overtightened bolts compress elastomer pads beyond their effective range, while undertightened fasteners allow micro-motion that creates buzzing and instability in action recording. Grade 8.8 or higher fasteners resist vibration loosening, and lock washers or threadlocker compounds prevent gradual hardware relaxation that degrades mount performance over time. Your mounting clamp must distribute clamping force evenly across elastomer materials to maintain damping effectiveness.
Custom Mount Design and Installation Techniques
Decoupling Design Principles
Effective custom mount design incorporates mass separation and compliance layers that decouple camera motion from motorcycle vibration. A cantilever design with elastomer isolation points creates a tuned system where the camera assembly has its own frequency response that filters rather than amplifies engine inputs. Asymmetric mass distribution around mounting points can shift resonance frequencies above or below typical operation ranges encountered during action recording. Aluminum or composite materials in the mounting bracket itself contribute to vibration damping through internal material loss, supplementing elastomer contributions. Multi-point suspension using distributed fasteners instead of single-axis mounting clamps creates redundancy and smoother vibration response.
Practical Installation and Adjustment
Secure your mounting clamp to frame points with maximum structural rigidity, avoiding plastic fairings or thin metal sections that flex independently. Install elastomer pads with surface orientation perpendicular to vibration direction for maximum effectiveness. Check that fasteners remain tight after the first ride, and re-verify at regular intervals since vibration naturally loosens hardware. Test your action recording at various RPM ranges and road surfaces to identify resonance peaks, then adjust fastener tension or elastomer pad thickness to shift these frequencies away from critical zones. A properly installed custom mount exhibits minimal perceptible movement when you grasp and manually oscillate the camera assembly at typical highway speeds.
FAQ
Why does my motorcycle camera mount vibrate despite being secured tightly?
Tight fasteners alone cannot eliminate vibration transmission; they simply transfer engine and road vibrations directly to your camera hardware. Engine vibrations require elastomer damping materials between the mount and frame, not additional fastener tension. Overtightening fasteners actually reduces effectiveness by compressing elastomer materials beyond their functional range. Your mounting clamp needs both rigid structure and strategic compliance to achieve smooth action recording.
What fasteners work best for vibration isolation in motorcycle mounts?
Stainless steel fasteners with elastomer or nylon inserts outperform plain bolts by dampening metal-to-metal resonance. Grade 8.8 or higher strength prevents fastener relaxation from repeated engine vibration. Lock washers or threadlocker compounds maintain fastener tension over extended use and riding conditions. A custom mount benefits most from evenly distributed fasteners that load elastomer materials uniformly rather than concentrated clamping force.
How should I position my custom mount to minimize vibration effects on action recording?
Mount your camera assembly to frame points exhibiting the lowest inherent vibration, typically away from the engine and below the handlebars. Use elastomer isolation pads with proper thickness to tune system resonance above typical operation RPMs. Multi-point suspension using distributed fasteners creates smoother overall motion response than single-axis mounting clamp designs. Test action recording at highway RPMs to confirm that resonance frequencies lie outside your normal riding envelope.